There’s a certain magic in bringing a classic car engine back to life. It’s a labor of love, a blend of mechanical skill, and a deep appreciation for automotive history. But like any intricate project, a classic car engine restoration demands careful planning, the right knowledge, and a healthy dose of patience.
Whether you’re a seasoned mechanic or a passionate hobbyist embarking on your first restoration journey, this guide will provide you with the best practices to ensure your project is a success. We’ll delve into each step, offering insights and tips to help you navigate the intricacies of breathing new life into your classic car’s heart.
Phase 1: Assessment and Disassembly
Before you even think about ordering parts or firing up the engine hoist, a thorough assessment is crucial.
1.1. Initial Inspection:
- Documentation is Key: Photograph and document every nook and cranny of the engine bay. This will be invaluable during reassembly.
- Engine Number Decoding: Locate and record the engine number. This will help you source the correct parts and manuals specific to your engine model.
- Compression Test: A compression test will give you a baseline understanding of the engine’s internal health.
- Leak Down Test: This more advanced test helps pinpoint issues like valve seal leaks or worn piston rings.
1.2. Careful Disassembly:
- Organized Workspace: A clean and organized workspace is crucial. Label and bag every part you remove.
- Specialized Tools: Invest in quality tools designed for engine work. This will make the process smoother and prevent damage to delicate parts.
- Engine Stand: An engine stand allows you to rotate the engine, providing easy access to all sides during the restoration.
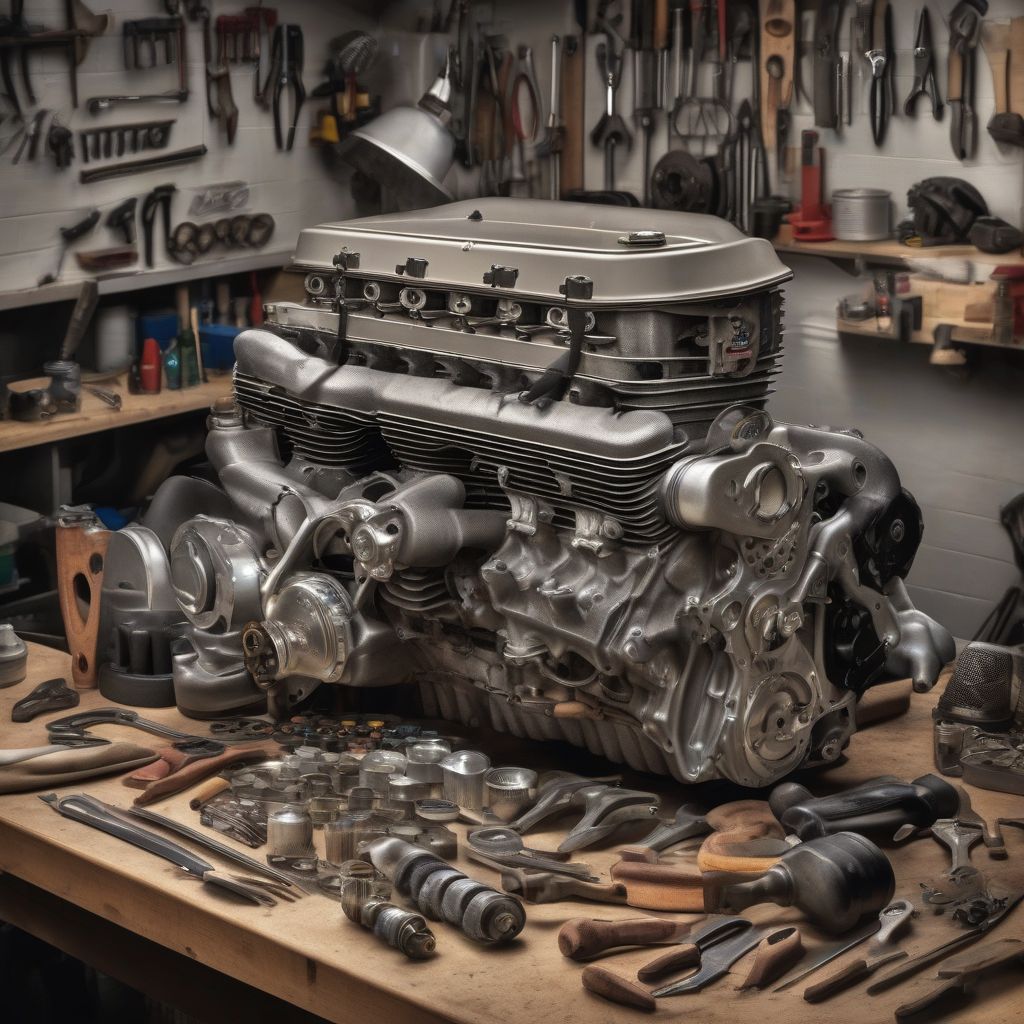
 Classic Car Engine Disassembly
Phase 2: Cleaning and Inspection
With the engine disassembled, it’s time for a deep clean and a thorough inspection to assess the extent of the restoration.
2.1. Deep Cleaning:
- Parts Washing: Use a dedicated parts washer or a combination of degreasers, brushes, and a garden hose to remove years of grime and oil.
- Specialized Cleaning: Consider media blasting or ultrasonic cleaning for heavily corroded or hard-to-reach parts.
2.2. Component Inspection:
- Cylinder Head: Inspect for cracks, warping, or wear. Consider a valve job (grinding valves and seats) to ensure proper sealing.
- Cylinder Block: Check for cracks or damage. Have it professionally measured to determine if it needs machining (boring or honing).
- Crankshaft: Inspect for wear on the journals. Polishing or grinding might be necessary.
- Pistons and Connecting Rods: Check for wear and tear. Replace piston rings, and consider resizing connecting rods if necessary.
Phase 3: Machining and Parts Sourcing
Based on your inspection, some parts might need machining to restore them to factory specifications.
3.1. Professional Machining:
- Engine Block: If the cylinders are worn, a machine shop can bore them oversize and fit new pistons.
- Crankshaft Grinding: Worn crankshaft journals can be ground down to the next undersize, requiring corresponding bearings.
- Head Resurfacing: A warped cylinder head can be resurfaced to ensure a proper seal with the engine block.
3.2. Parts Sourcing:
- Quality Parts: Invest in high-quality parts from reputable manufacturers. This will ensure longevity and optimal performance.
- OEM vs. Aftermarket: Consider Original Equipment Manufacturer (OEM) parts for authenticity, but explore aftermarket options for potential cost savings.
- Online Resources: Utilize online forums and communities dedicated to your specific classic car model. These platforms are invaluable for advice and finding rare parts.
[amazon bestseller=”classic car engine parts”]
Phase 4: Reassembly and Break-In
This phase is where your meticulous preparation pays off. Follow the proper sequence and torque specifications outlined in your engine’s service manual.
4.1. Step-by-Step Reassembly:
- Lubrication is Key: Use assembly lube on all bearings, camshaft lobes, and other friction points.
- Torque Wrenches: Invest in quality torque wrenches to ensure bolts are tightened to the correct specifications.
- Gaskets and Seals: Replace all gaskets and seals. Even a slightly compromised seal can lead to leaks.
4.2. Initial Startup and Break-In:
- Priming the Engine: Before starting, prime the engine with oil to prevent dry starts.
- Initial Run-In: Follow the manufacturer’s break-in procedure. This usually involves varying engine speeds and loads to seat piston rings properly.
- Fluid Checks: Regularly check for leaks and monitor fluid levels during the break-in period.
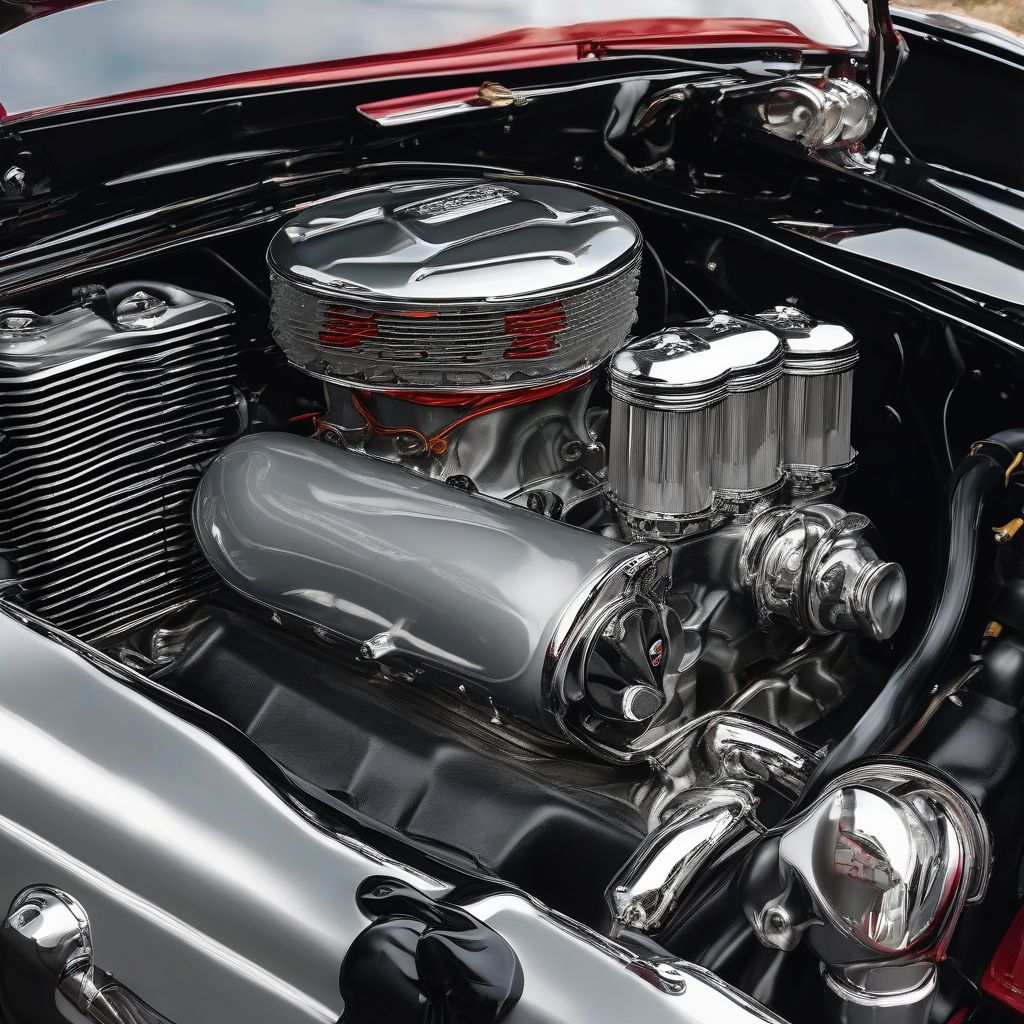
 Restored Classic Car Engine
Conclusion: The Rewarding Roar of Success
Restoring a classic car engine is a journey filled with challenges and rewards. It demands patience, meticulous attention to detail, and a passion for automotive excellence.
By following these best practices, you’ll not only breathe new life into your classic car’s engine, but you’ll also gain a deep sense of accomplishment. The moment that engine roars back to life, all the effort will be worthwhile.
Remember, this guide is just the starting point. Research your specific engine model thoroughly, consult with experienced mechanics, and don’t be afraid to seek help when needed. Most importantly, enjoy the process – it’s a labor of love that will reward you for years to come.
Now, share your thoughts! What are some of your biggest challenges when it comes to classic car engine restorations? Let’s discuss in the comments below.
